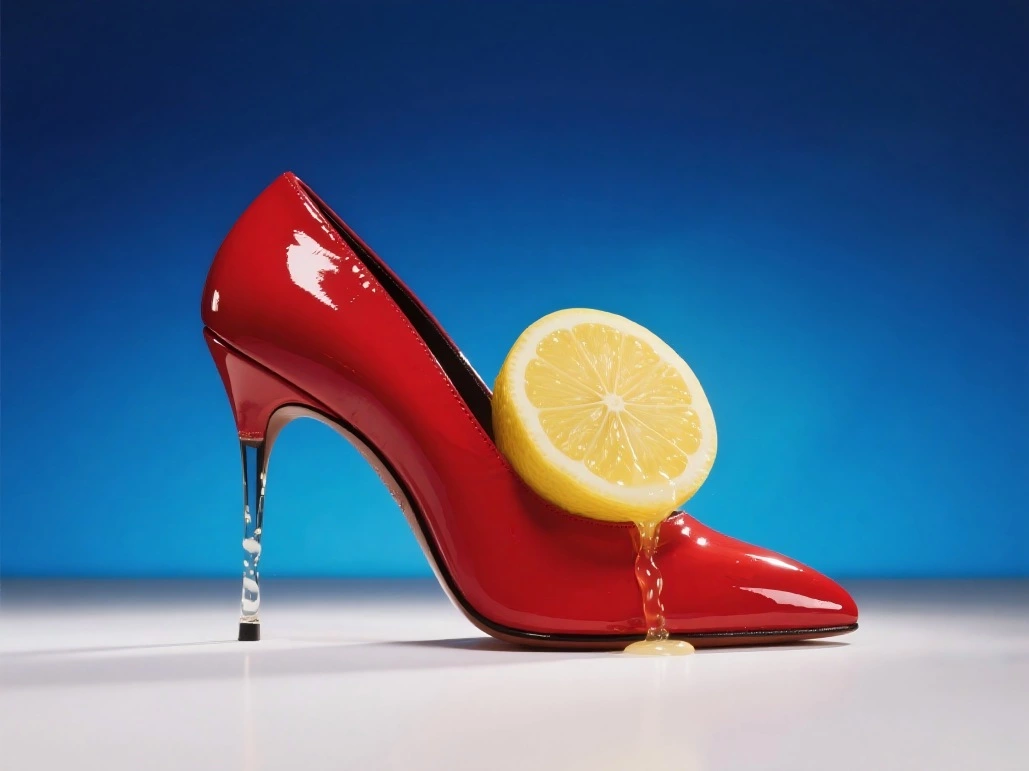
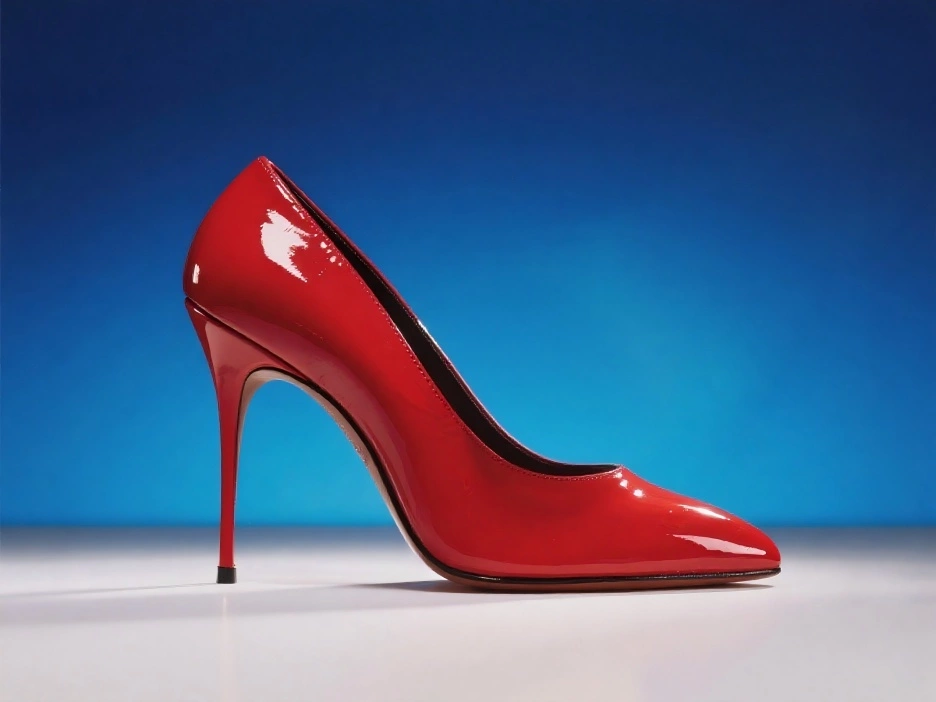
Choose the image that should lead the scene
Upload a photo, product image, portrait, or illustration with the subject and composition you want to keep in view.
Start with a photo or image you already like, then turn its subject, composition, and mood into a directed short video.
A still image can establish the subject and visual mood before the video begins. Use Image to Video AI to animate a product photo, portrait, or illustration with a specific action and camera direction instead of starting from a blank prompt.
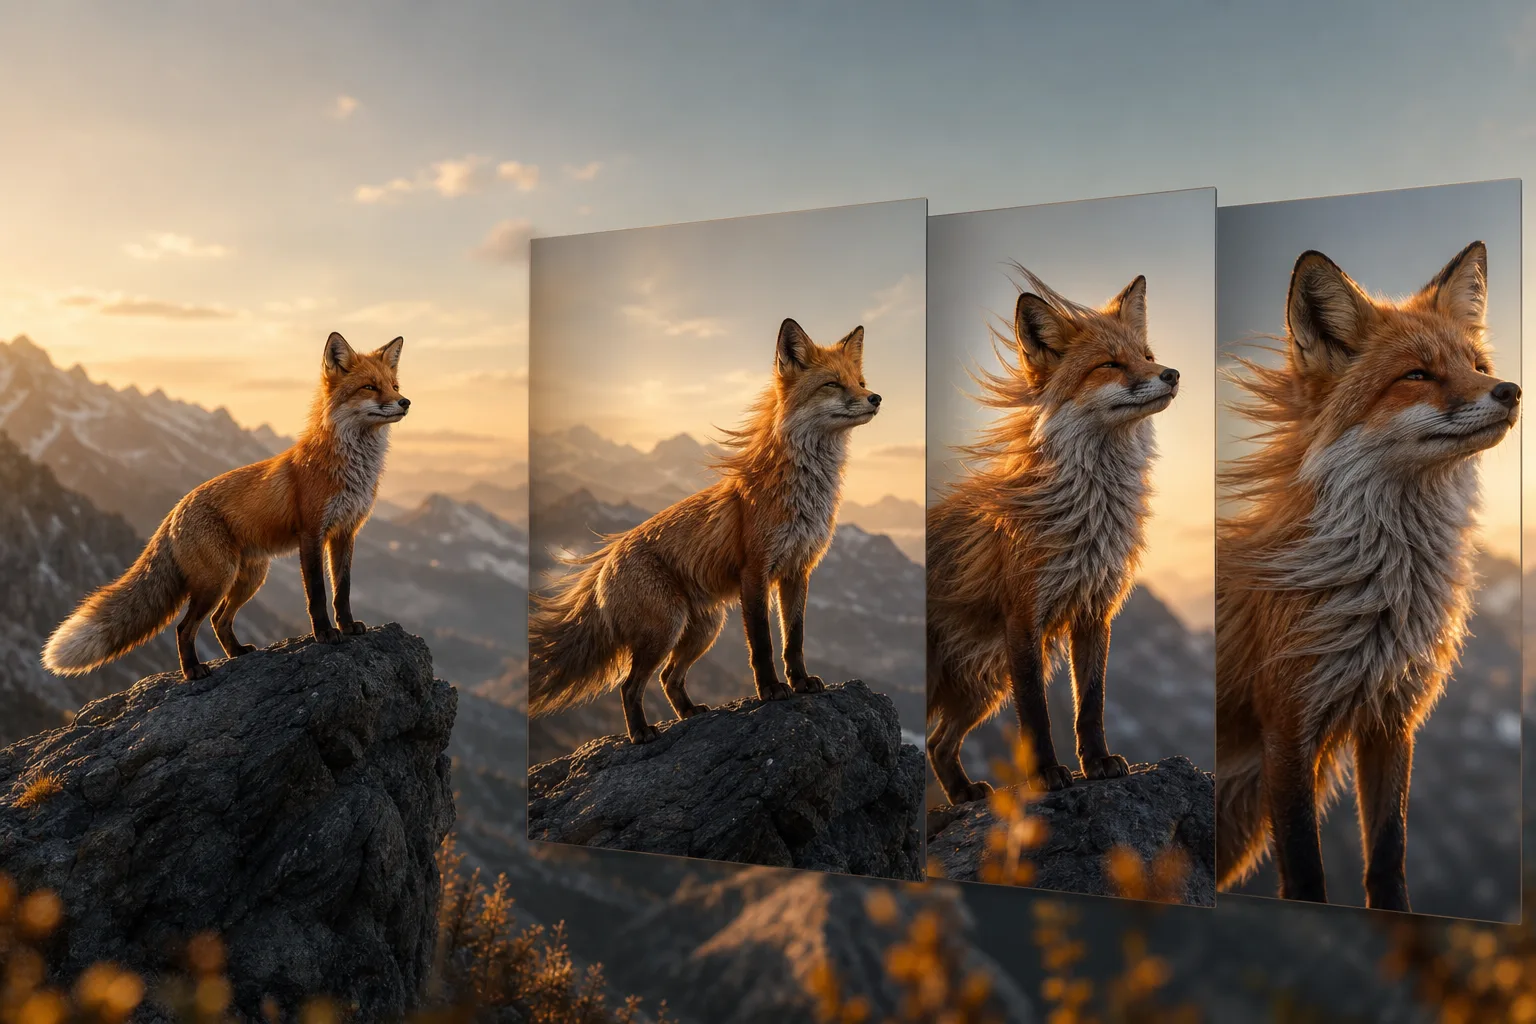
Begin with a clear first frame, describe the change you want to see, then select the available output settings for the place the video will be used.
Upload a photo, product image, portrait, or illustration with the subject and composition you want to keep in view.
State what moves, how it moves, and how the camera should feel, such as a slow push-in, a turn, or a gentle pan.
Select the available aspect ratio, resolution, and duration, then refine the prompt after you review the first result.
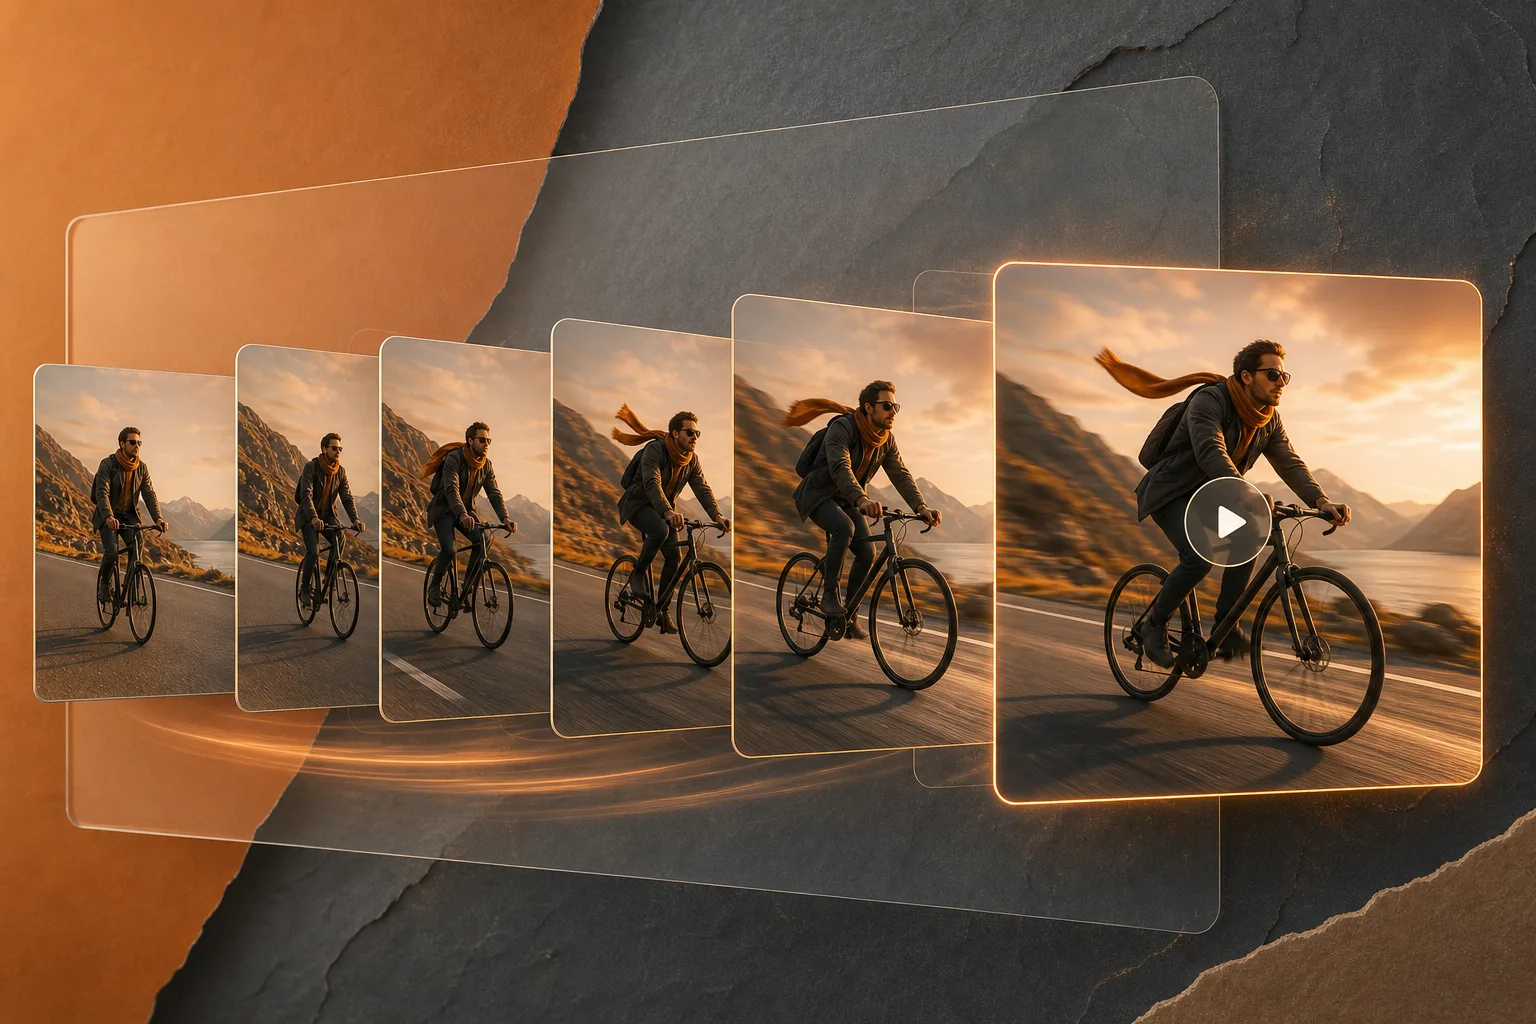
Image to Video gives the model a visual starting point, while the prompt explains the action, camera feel, and details that matter in the next few seconds.
Begin with the product, person, illustration, or composition that should lead the scene.
Specify the visible action and camera movement instead of relying on a broad style label.
Choose the available aspect ratio, duration, and resolution for the format you are planning.
Use first and last frames or reference images when the selected model makes those controls available.
Image to Video AI is useful when a still already communicates the product, character, or visual direction and you need to explore how it could move.
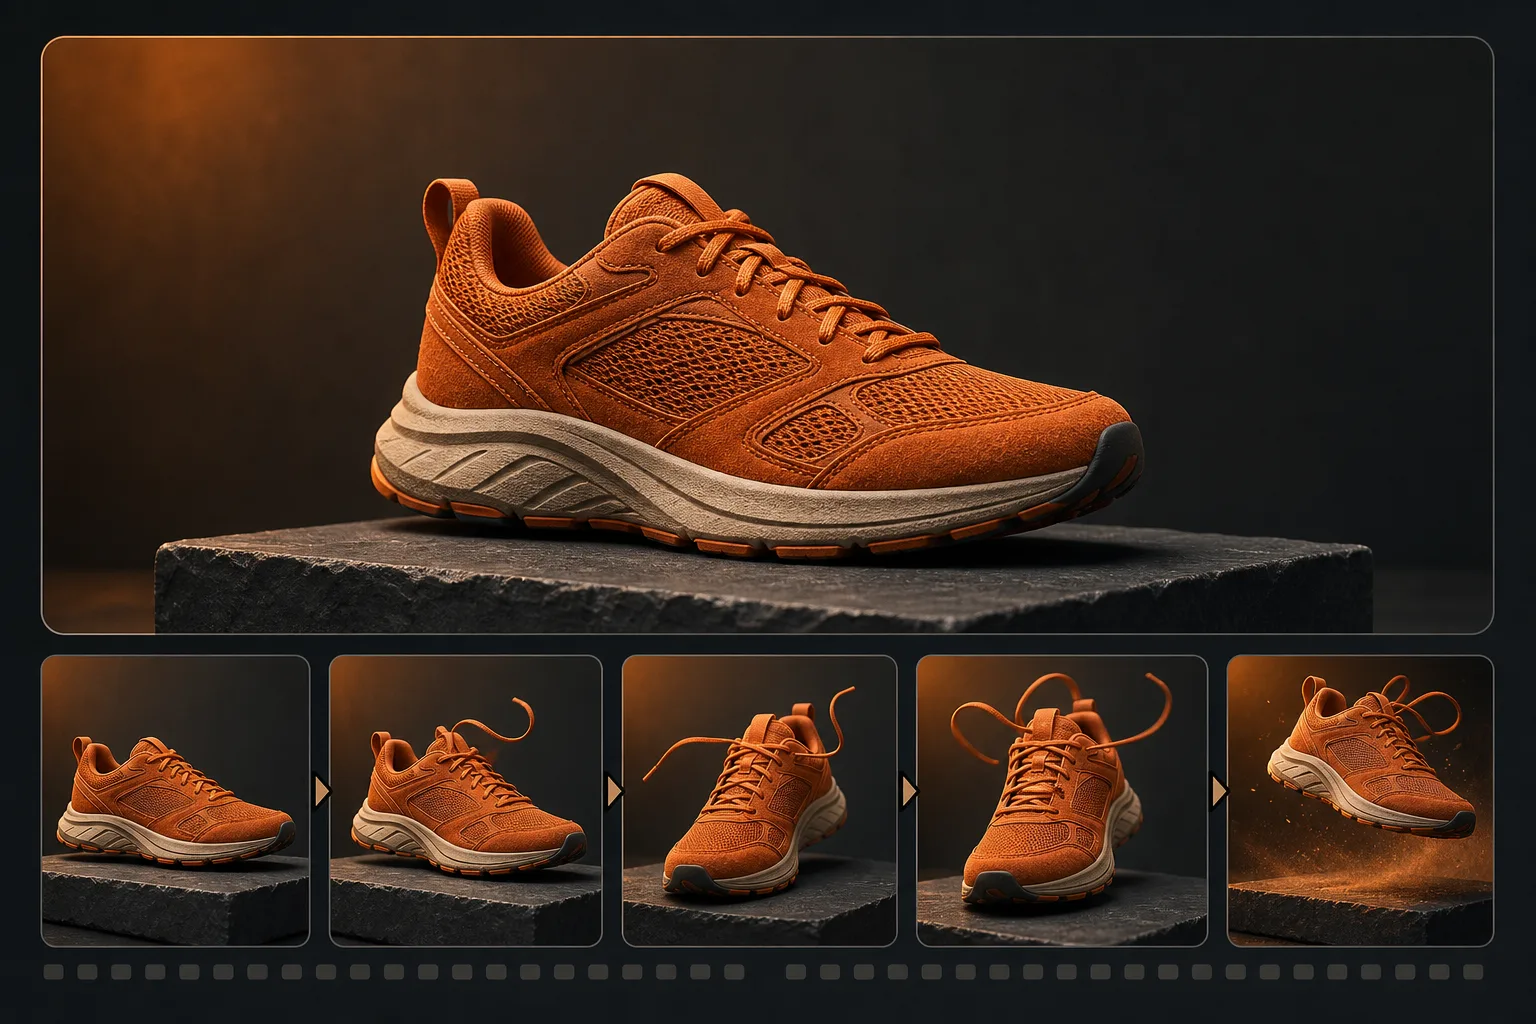
Turn a polished product image into a short reveal, a close-up camera move, or a scene with restrained background motion before committing to a larger production.
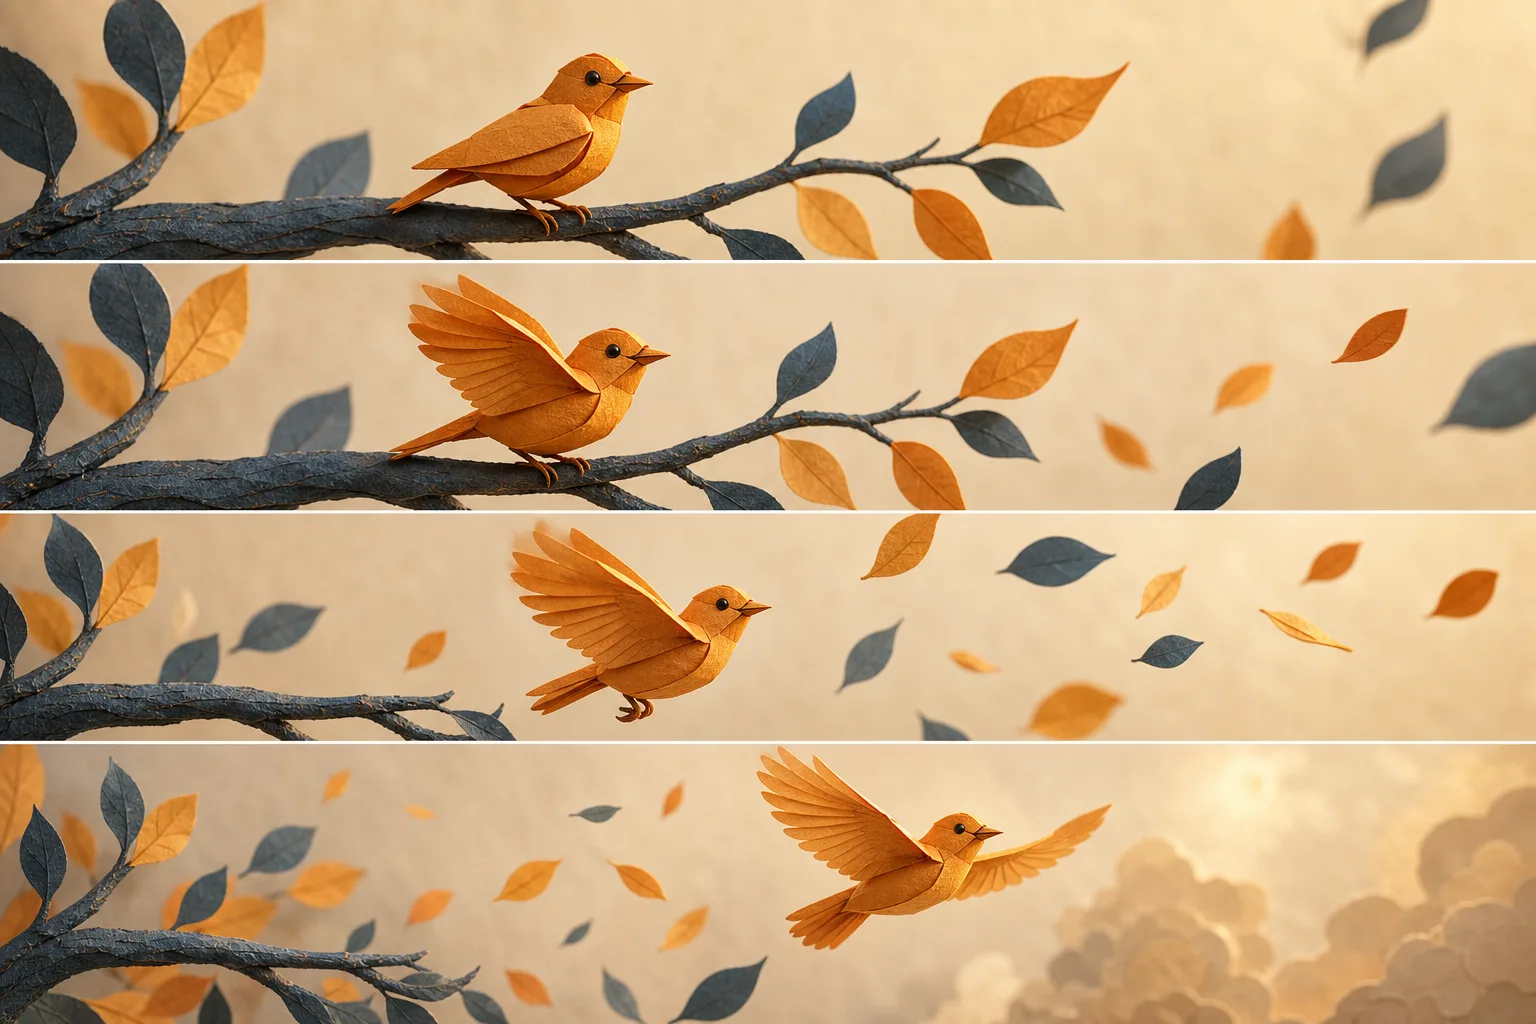
Give an illustration a small story beat by directing character movement, environmental motion, or a camera shift while preserving the original art direction.
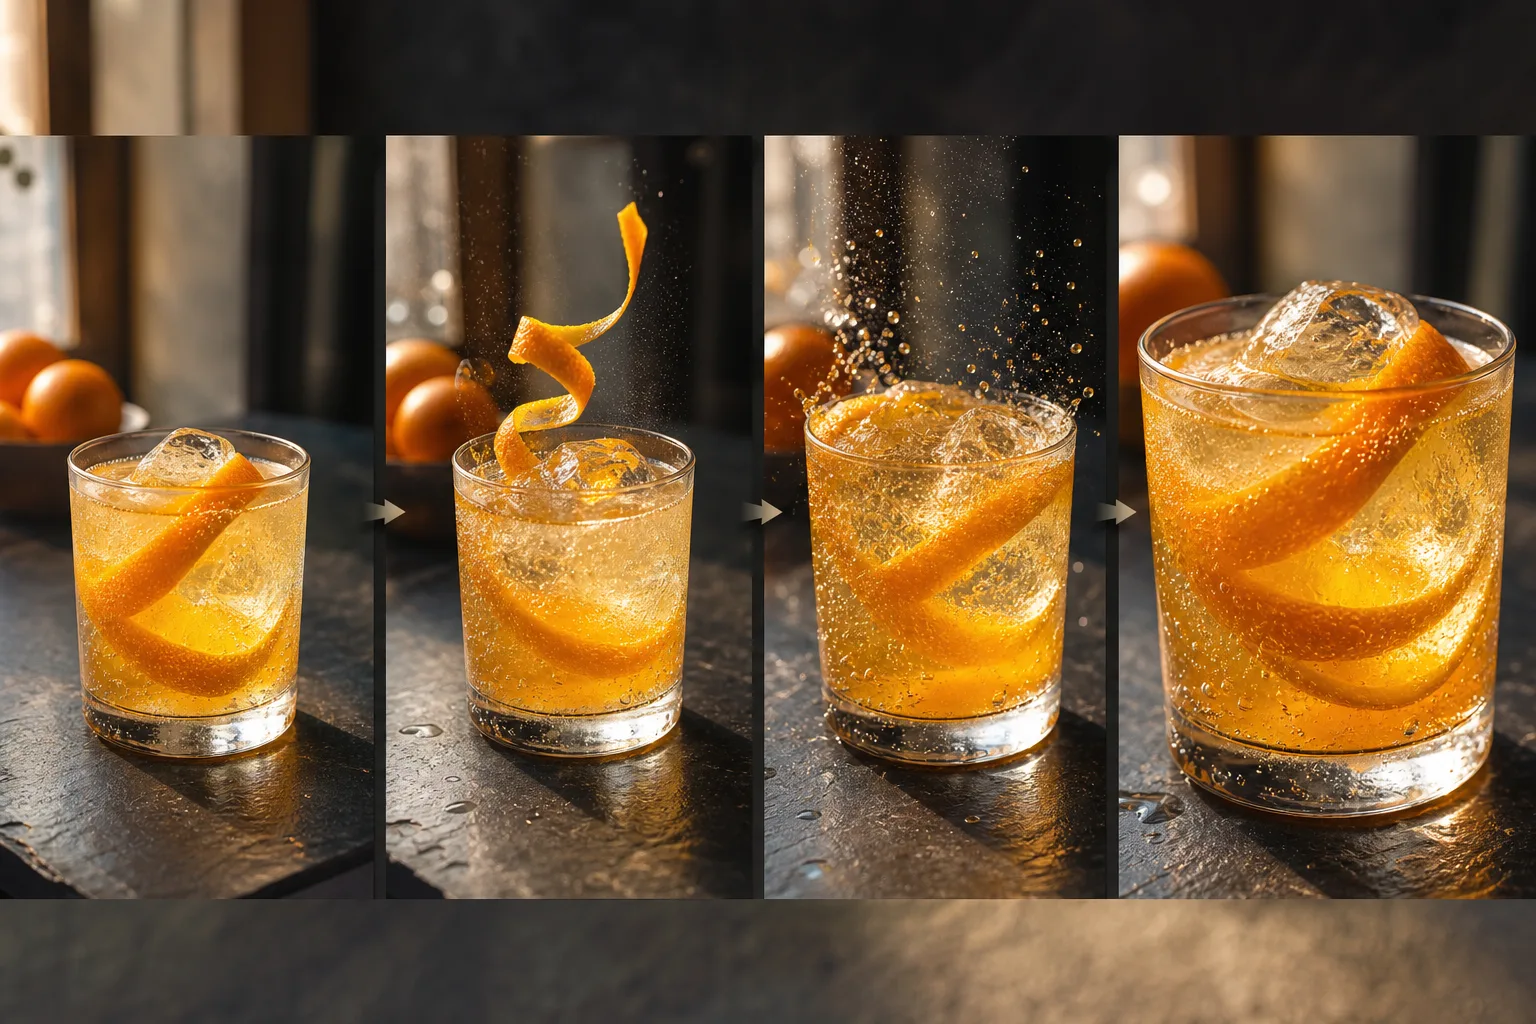
Use a reference image to test pacing, framing, and a camera feel while the shot is still easy to change, then carry the clearest version into a storyboard or edit.
More than just watermark removal. Our AI-powered suite includes intelligent background removal, smart object manipulation, and precision editing tools. Powered by advanced deep learning and computer vision technology that understands context and preserves quality.
How creators animate product photos, portraits, and illustrations while keeping the source image in control.
“I use Image to Video after a product photo is approved. A slow camera move and restrained background motion give us a video draft without changing the packaging or composition.”
“For illustration work, I describe one small character action and keep the original framing. The result is much easier to review when the prompt protects the drawing style and main pose.”
“Starting from the same image lets me compare a locked shot with a slow push-in before production. I can discuss pacing with the team without changing the visual reference.”
Start with the image subject, then make the desired movement and camera behavior specific enough to review in the result.
Say what must stay recognizable, such as the product shape, facial expression, clothing, or illustration style.
Use a concrete action such as turns toward camera, fabric moves in a light breeze, or the box opens slowly.
Finish with camera language such as slow push-in or locked wide shot, plus the pace of the movement.
It creates a short video from an uploaded image and a written motion direction.
Yes. Upload a supported photo, describe the movement you want, and choose the settings available for the selected model.
Use a clear product photo, portrait, illustration, or reference image that shows the subject and composition you want to guide the result.
Choose a clear image and state the details that must remain, then describe only the motion or changes you want to introduce.
Yes. Include a direct camera instruction, such as a slow push-in, pan, or locked shot, in the prompt.
First and last frame inputs are available when the selected model supports them.
Reference image options depend on the selected model and mode. The tool shows only the inputs that are currently supported.
Available aspect ratio and resolution settings depend on the selected model and the inputs you use.
Make the next prompt more specific about the subject, the action, the camera feel, and the details that should remain unchanged.